
Seed-starting is quite a process, and can be tedious (not to mention complicated) if you have to constantly up-plant seedlings before they’re garden-ready. {Remember the many, many tomatoes in my living room?} In a quest to simplify the process, we decided to experiment with soil blocking. I’d never heard of soil blocking before, but after watching several YouTube videos about other gardeners’ experiences with them, I was excited to see how the process worked.
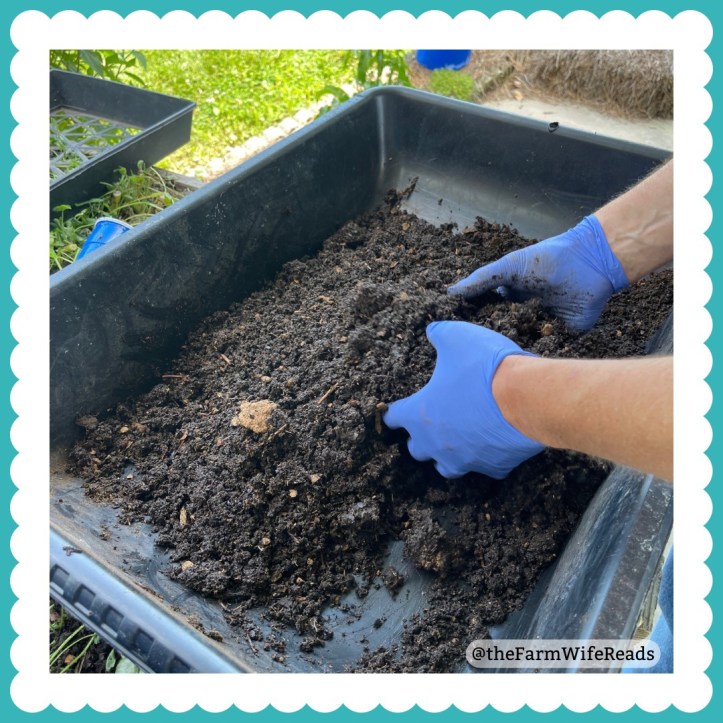
Our very first attempt at mixing the soil recipe was a bust. We didn’t sift the compost, so we ended up with twiggy bits that really interfered with the block formation. Next time, we sifted our compost before mixing it with sphagnum peat moss, and it was a much better blend. Adding the water is a guessing game – but by adding a little at a time, and mixing as we added, we got to the right consistency. I can tell this will definitely be a learn by trial and error system until we get a lot more experience under our belt.
After the blocks are formed, and seeds sowed (we opted to lightly sprinkle dry dirt over ours, but apparently you can leave them completely uncovered), the only other tricky part is keeping them wet enough to grow, but not so wet the blocks disintegrate. Bottom watering is your friend in this case, but I also misted the tops/whole blocks frequently.
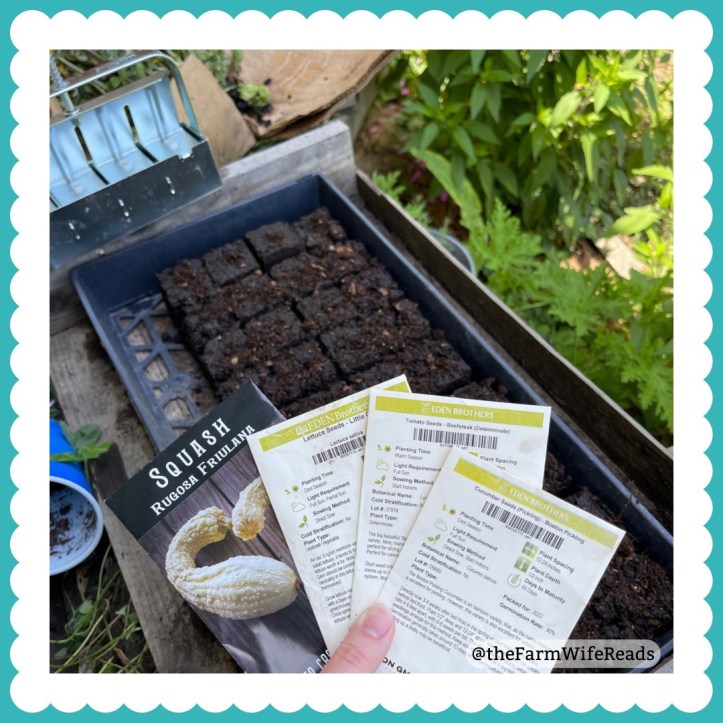
Seed germination occurred faster in the soil blocks than when we’ve started seeds other ways, which was really cool to watch. Our first set of seeds were mainly for experimentation purposes, but things we’d like to have a late run of if all things worked. The squash, cucumbers and tomatoes all came up beautifully, but the lettuce said it was way too hot, ha. {Honestly, I can relate}.

You can see the roots and how the block “air prunes” them.
When it came time to set out the seedlings, we simply placed the blocks on top of the dirt in the grow bags, tucked a little green matter around them, and watered well. There was no transplant shock! It was amazing how well they adjusted to the move, and for a few days everything looked great. Then squash bugs found the baby plants and well … bye-bye late squash attempt.

The cucumbers grew beautifully, the best looking cucumber plants I’ve seen all year. We left the old cucumber vines on their fence panel in the row behind the new plants, hoping the bugs would continue feasting on those {our poor cukes this year…}, and it worked for a week or two, but the nasty little buggies have now found my new cukes, and while there are some blooms appearing, I’m not sure I’ll be able to harvest any cucumbers.
The tomatoes however, are extremely happy and growing beautifully. With any luck, we’ll get a late harvest of beefsteak tomatoes this year, ensuring BLTs into the early fall, and potentially more canning.
Bug attacks aside, we were pleased with the results of soil blocking for seed starting, and plan to keep experimenting with this method. Fall seeds will be started in soil blocks, including our onions. {I think these are going to be game-changers for our onion growing!} And now we’ve figured that out {mostly}, I’ve got to curl up with my Vegetables Love Flowers book and see what I can do to help the squash and cucumbers.
Have you ever heard of – or tried – soil blocking? Got any tips or tricks? What about your favorite (chemical-free) methods for keeping nasty beetles off squash and cucumbers?
**Disclaimer: As a Bookshop.org affiliate I will earn a small commission on any purchase.**

Can’t remember if I mentioned this in person, but have you tried diatomaceous earth? That’s my go-to organic pest control and it works a treat on any bugs I’ve had. I don’t plant squash or cukes though, so can’t personally vouch for effectiveness there…
LikeLiked by 1 person
We will have to investigate that 🤔 Thanks! 🙂
LikeLike
[…] experimenting with soil blocks over the summer, we decided to go ahead and take our chances using that method for starting our […]
LikeLike