I think there is this idea surrounding “homesteading” {at any level, from backyard garden to fully self-sufficient} that you have to be able to do it all before you can do anything. Which is an incredibly overwhelming mindset, and probably scares a lot of people away from trying new things. We are living proof that you can start small – where you are, with what you have – growing your knowledge base one skill/process/thing at a time, until you find yourself standing on the other side of experience and information. Today’s post is a prime example: Making Kraut.
Spoiler alert: The cabbage we used came from the grocery store. One day, we’d love to be able to grow enough cabbage to use in making kraut. But until that time comes, we use what we can access. The important thing is we are learning how to make it {and enjoy the delicious fruits of our labor}, so we’ll have things figured out when we are able to grow enough cabbage to swap out the store-bought ones. The same philosophy applies to our strawberry jam making: until we can grow enough of our own, we buy berries from a local farm to make our jam.
Prior to getting married, my experience with kraut was zero. However, Mr. has been eating – and making – kraut for years, so he already worked out the ratios for the kraut making process we’re sharing today. And yes, there is a specific ratio that must be adhered to for your kraut to “do right.” Mr.’s recipe came from the book Real Food Fermentation, and in the beginning, he did weigh the bowl and cabbage to find the amount of salt needed. We skip that step now, because we know what our bowl holds – but for your first time, it’s worth the extra minutes and a little bit of math.
Before You Start:
This is probably super obvious, but when you’re making kraut it is extra important to have a clean work area. You also want to make sure the jar and jar weights you use are freshly washed. Regular dish soap works, or you can also wash with baking soda {we’ve done both}, you just want everything very clean. Kraut is a raw food, and while it goes through fermentation, that still is not a cooked process, so clean preparation is vital.
Step One:
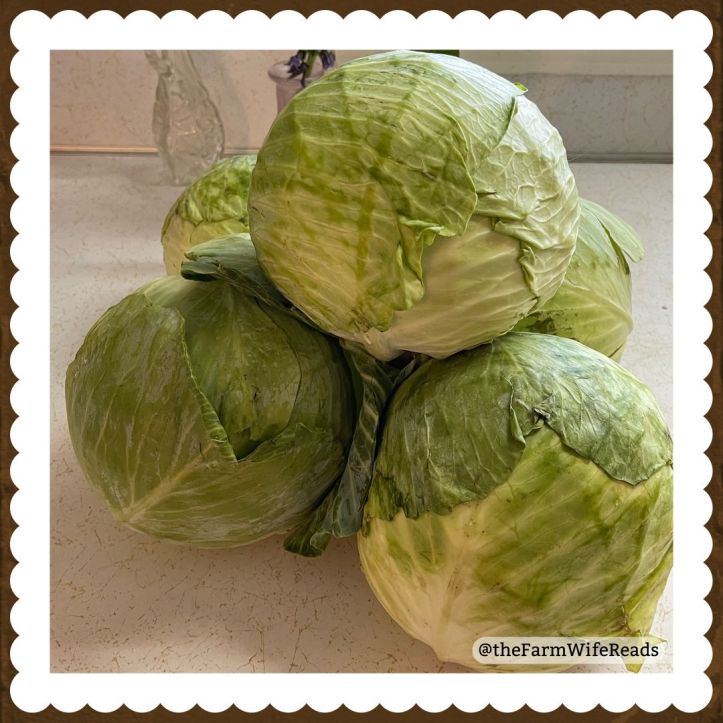
Wash cabbage and remove any damaged/grungy outer leaves. We have found it takes roughly 3 store-bought cabbage heads to make 1 gallon of kraut. Fun fact: for this kraut-making session, we left the store with 25 POUNDS of cabbage heads. We were laughing the whole way home, and then I had to stash them in the fridge and it wasn’t quite as funny anymore.
Step Two:
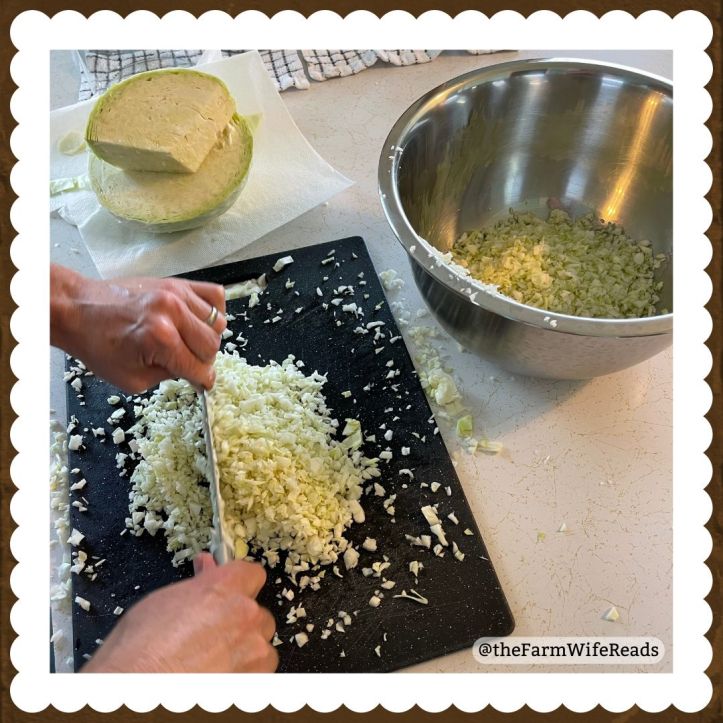
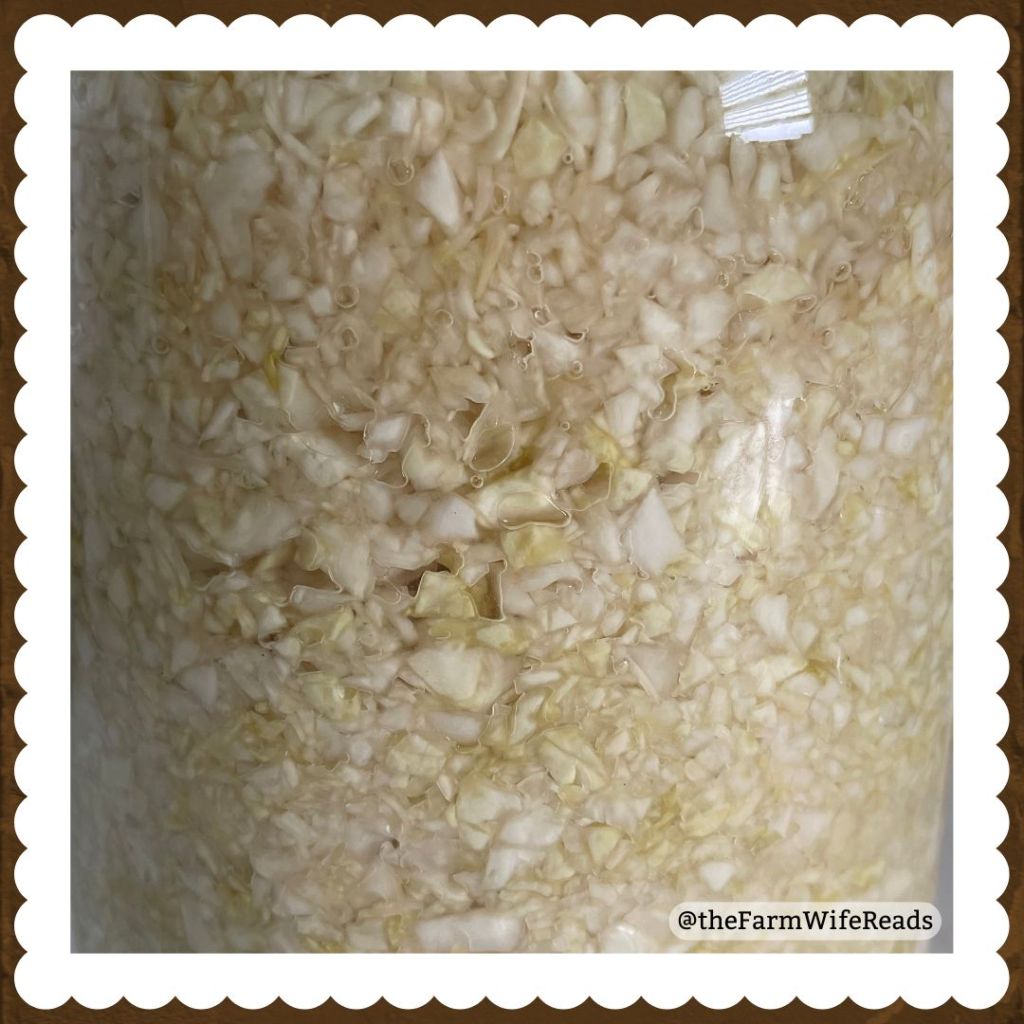
Cut cabbage in half to remove the core, as well as any “bones” going up the middle of the bigger leaves. Then chop, and chop, and chop. You can make your kraut as fine or coarse as you like, we prefer a small dice {like you would for slaw}. You can use a food processor for this part, but we have found chopping by hands keeps the cabbage from bruising which means crispier/crunchier kraut.
Step Three:
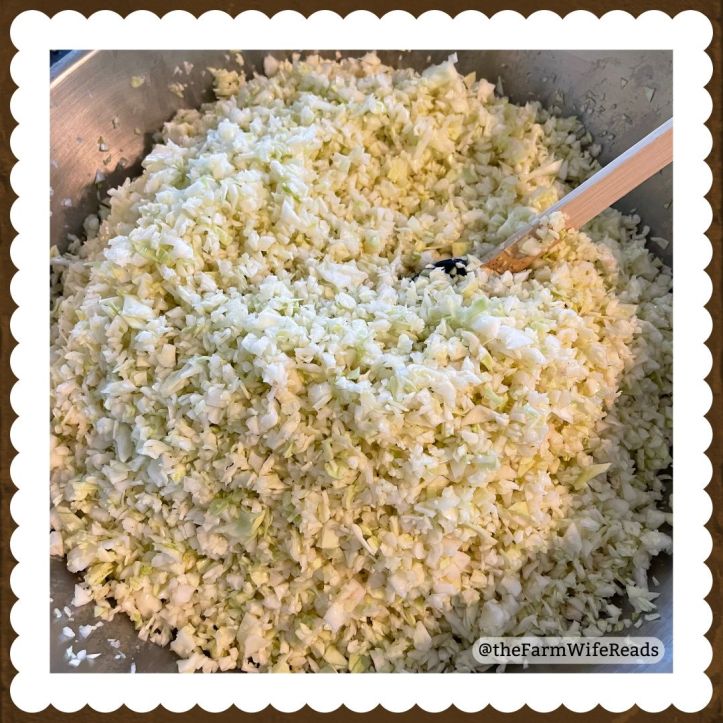
Chop kraut until your bowl is full. We use an 8-quart bowl for measuring out our cabbage, and transfer into a wider 13-quart bowl {that was Mr.’s grandma’s} to minimize the mess when mixing.
Step Four:
Add salt. For our recipe, we use 4 Tablespoons of salt. You must use non-iodine salt or the kraut won’t work. We found that we like pink Himalayan salt the best. Mix salt and diced cabbage thoroughly, then let sit for several minutes – until the salt starts drawing out cabbage juices.
Step Five:
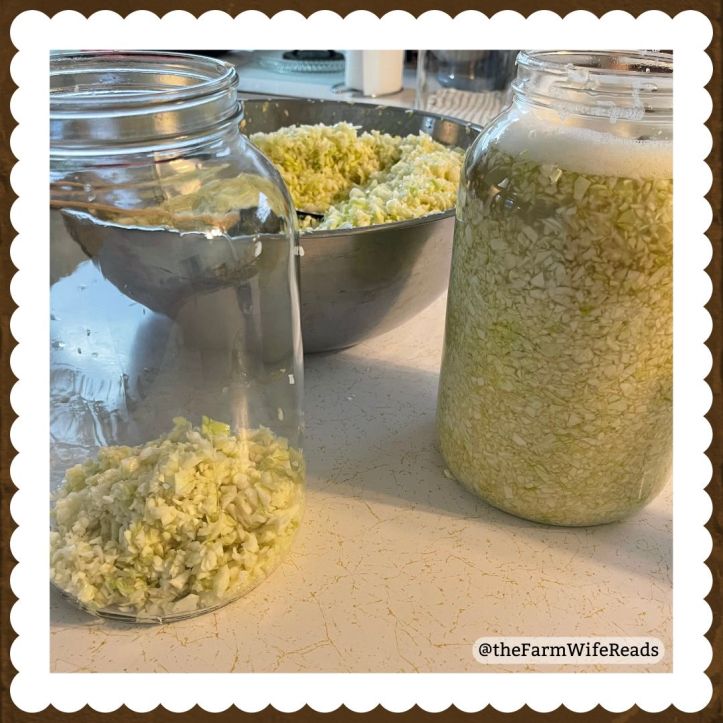
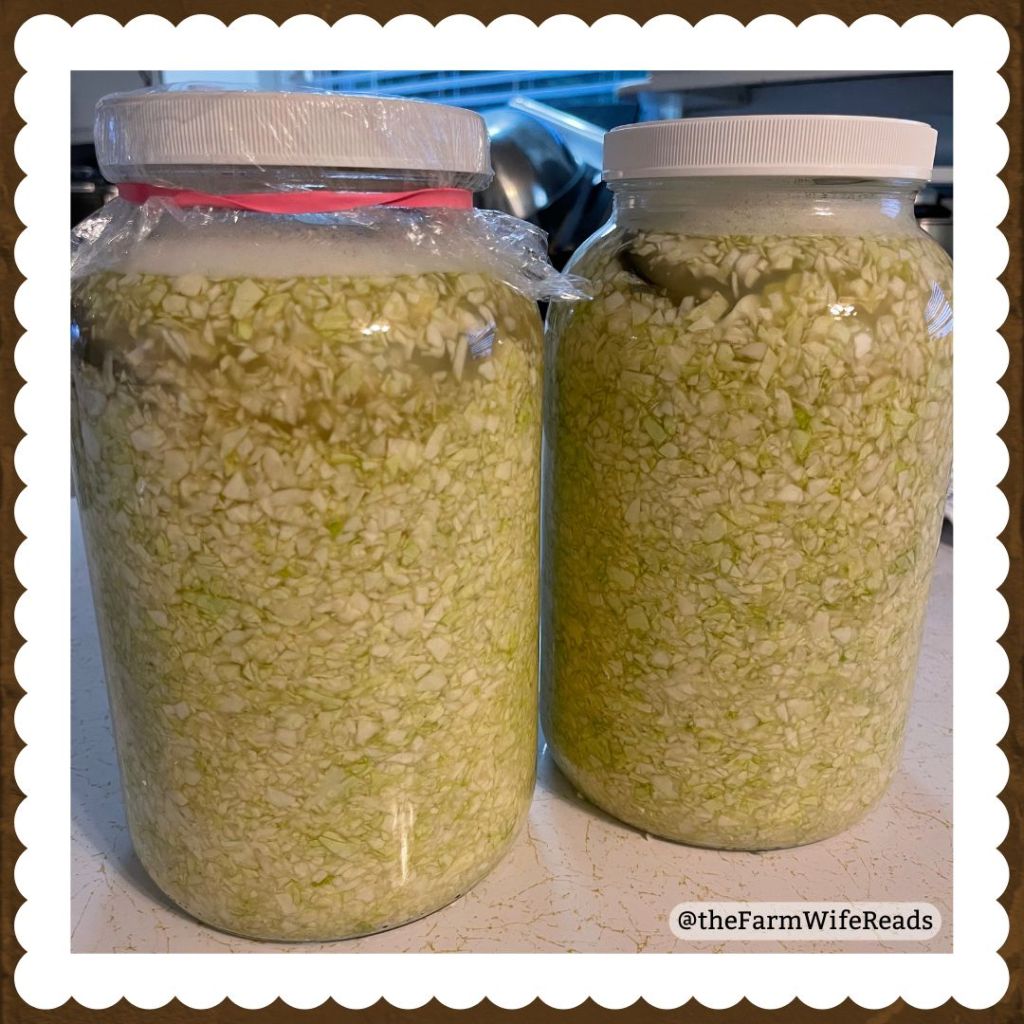
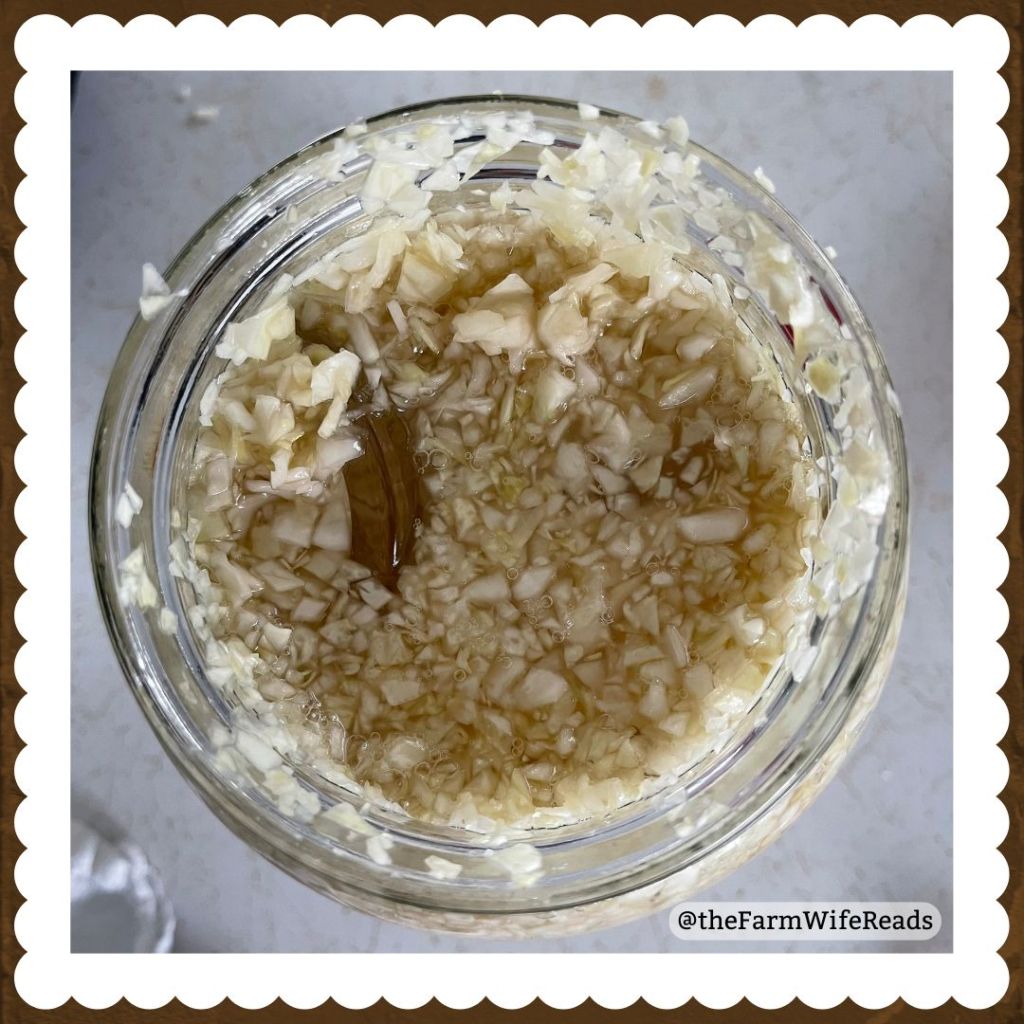
Pack cabbage firmly into a clean jar. We make kraut a gallon at a time, and found it makes better in one big versus multiple smaller jars. You want to make sure the kraut gets really packed in there, and you should start seeing juice/brine collecting. This brine is what makes the ferment magic happen, and by the time you fill your jar you should have a layer of brine covering the kraut.
Step Six:
Once your jar is filled, place weights on the cabbage to keep it below the brine level. We use glass canning weights, which have been cleaned thoroughly before use. As the cabbage ferments, it will develop gases/expand, and you want to keep as much below the brine-line as possible. Weird things happen when the kraut gets dry, so truly: brine is your best friend. {This is also why the salt-to-cabbage ratio is so important}.
Step Seven:
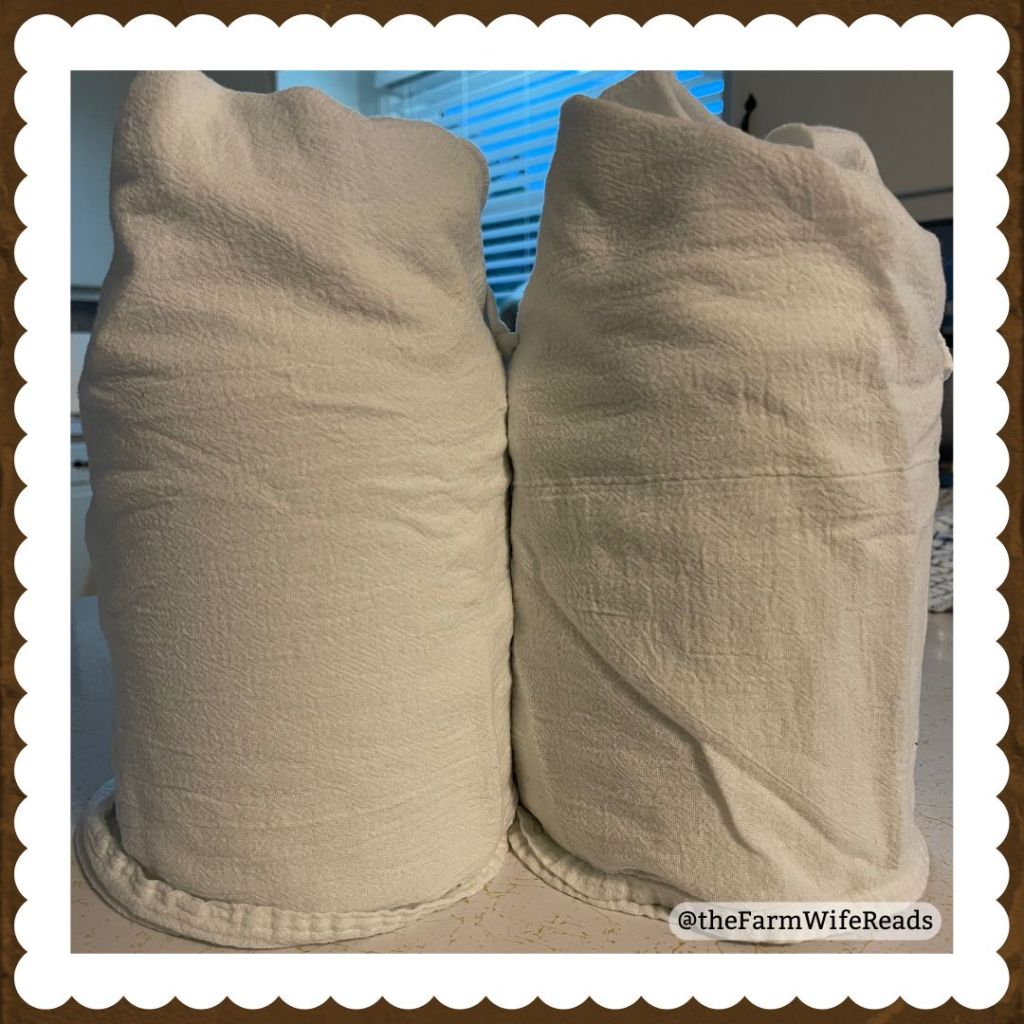
Place the lid on your jar, and wrap with a cloth to keep light from hitting the kraut, and place in a darkish location. Note: highly recommend placing your jar on a beach towel during this process, in case the juices seep out. It has happened. It is not fun. We keep ours in the office, because it’s on the north side of the house/not as bright, and they’re out of the way.
Step Eight:
Check your kraut periodically. It typically takes 2 weeks for ours to be ready – this batch we tested at 2 weeks and 2 days {because life}, and it was perfect. Once it’s reached kraut-y ferment-y perfection, you can store in the fridge for … a while.
Note: If your kraut has expanded to the point that some of it is not covered by brine, you can scrape off that topmost/dry part and the underneath should be fine.
If you want to watch our kraut making process, we’ve got a video for that as well!
We may not have grown the cabbage ourselves, but we did make the kraut. Knowing the process and ratios that work best for us, even if we have to buy the cabbage, brings us one step closer to living the homestead life. With every new skill we learn, we are getting closer. And at the end of the day, the learning and experiencing is what matters the most.
Have you ever made kraut?
What is a “homesteading skill” you’d like to learn?

I love Kraut but have never tried to make it. Tbh it looks kind of complicated lol.
LikeLiked by 1 person
It’s less complicated than it seems, but it is very messy, lol… I find little pieces of cabbage all over the kitchen afterwards!
LikeLiked by 1 person
[…] a busy month, and the blog posts reflect the variety of activities we’ve been up to. From making kraut to getting the chickens moved to grass, not to mention a rapidly growing garden. I’ve got a […]
LikeLike
[…] We also got a fresh batch of kraut percolating. You can read more about our process in this post. […]
LikeLike
[…] cabbages have been harvested and stored {we were even able to make a batch of kraut from cabbages we grew!}, but the kale is thriving. I’m hoping if we keep it watered and […]
LikeLike